
We drink a lot of almond milk in our house. I have never been a huge milk drinker to begin with and since I started making a lot of smoothies, i switched to almond milk and started to really love it. I was getting pretty annoyed with how much and how many types of milk were in our house…at one point we had full fat milk for our toddler, 1% for husband who is a cereal junkie and then almond milk for me and my smoothies. It got to a point where it was difficult to fit groceries in our fridge due to all the milk containers. ARGH. One day the lion wanted some milk and we had completely ran out so I gave him almond milk and low and behold, the little monster loved it. Then it hit me…just stop buying milk and see what happens. It’s been just about a year and we haven’t purchased milk (except for the odd recipe where almond milk just don’t cut it) and so far, none of us miss it.
Last week I was able to take a nut mylk class and I had a complete blast!! A really fantastic juicery in North Vancouver called ‘The Juicery Co’ partnered with the Well Fed Studio (which is an amazing little cooking studio that does meal deliveries and also runs meal prep classes…how awesome is that?) and put on a little class where we got to learn about making nut mylk and make 3 different kinds of mylk. The Juicery Co is only a few steps away from the Well Fed studio so it’s the perfect location.
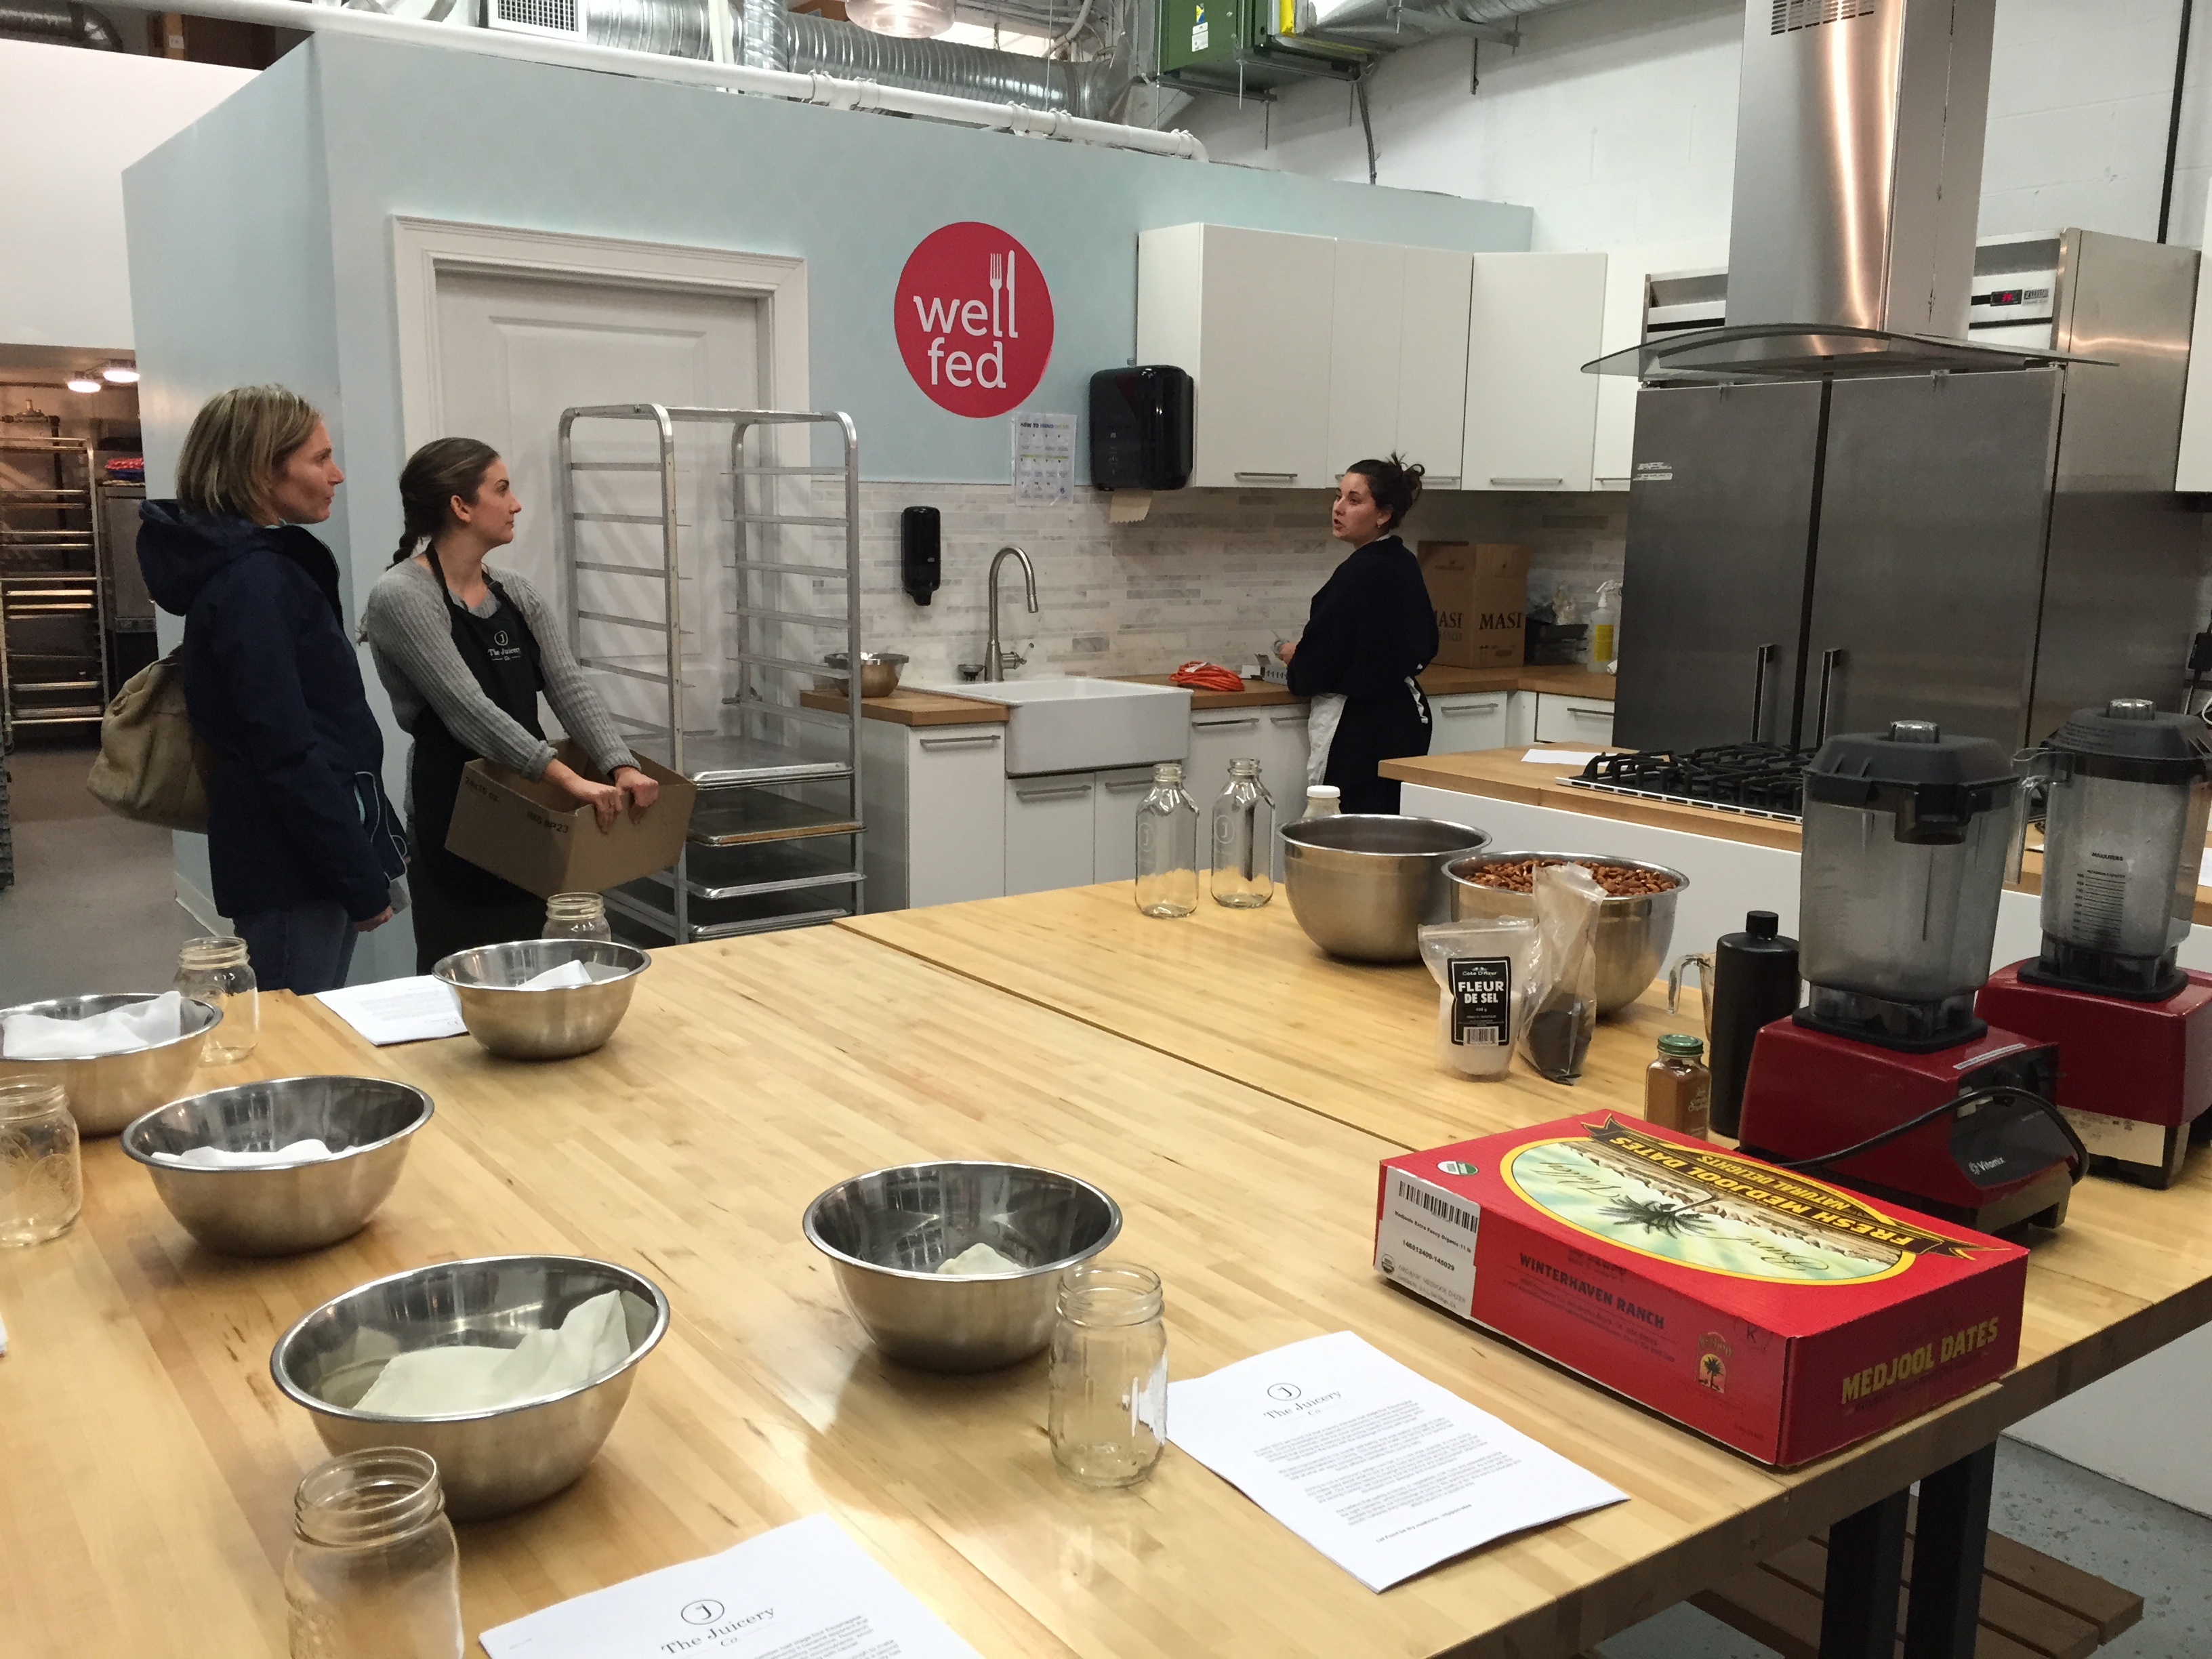
The Well Fed Studio
(North Vancouver)

How gorgeous is this little cooking studio?? I mean seriously?

I love the garage door!! How great would this be in the summer. This is my idea of the perfect office!!
The class was run by 2 of the wonderful women that run the Juicery Co and it was casual, informative and a total blast and a half. When I first walked in, I noticed that we were going to be using some Vita Mix Blenders and immediately started salivating and praying to the nut mylk gods that I would get to walk out with one. To be honest, my pops has agreed to get me a Blendtec for Christmas so i’m a pretty lucky and happy gal!! This class is definitely preparation for my new snazzy kitchen tool!! SO EXCITED!! In order to make nut mylk well, you will need a pretty high powered blender. Besides panting about the thought of a new blender…when I saw the bohemeth box of medjool dates…the excitement kept on brewing!!

Dem Dates though!!
First we talked about sprouting nuts…which is really just a fancy way of referring to soaking your nuts. It is important to soak your almonds for between 8-12 hours in water. The water will allow the nuts to release enzymes that make them easier to digest and it makes the proteins easier to absorb. Just be sure to rinse your nuts afterwards and discard the nasty water. Rinsing the almonds after soaking is important as there are toxins on the skin that you will get rid of (that’s why you don’t want to use that water).

Sprouted Almonds
We put the almonds, water, sea salt and dates (which are used as a natural sweetener) in to the blender and blended on high for a full minute.

Just making some almond mylk…no big deal!

Close up action shot!!
Next we strained the almond mixture through the sprouting bag (nut milk bag) and slowly squeezed and massaged it until all of the delicious almond milk was released.

Squeezing through the nut mylk bag.
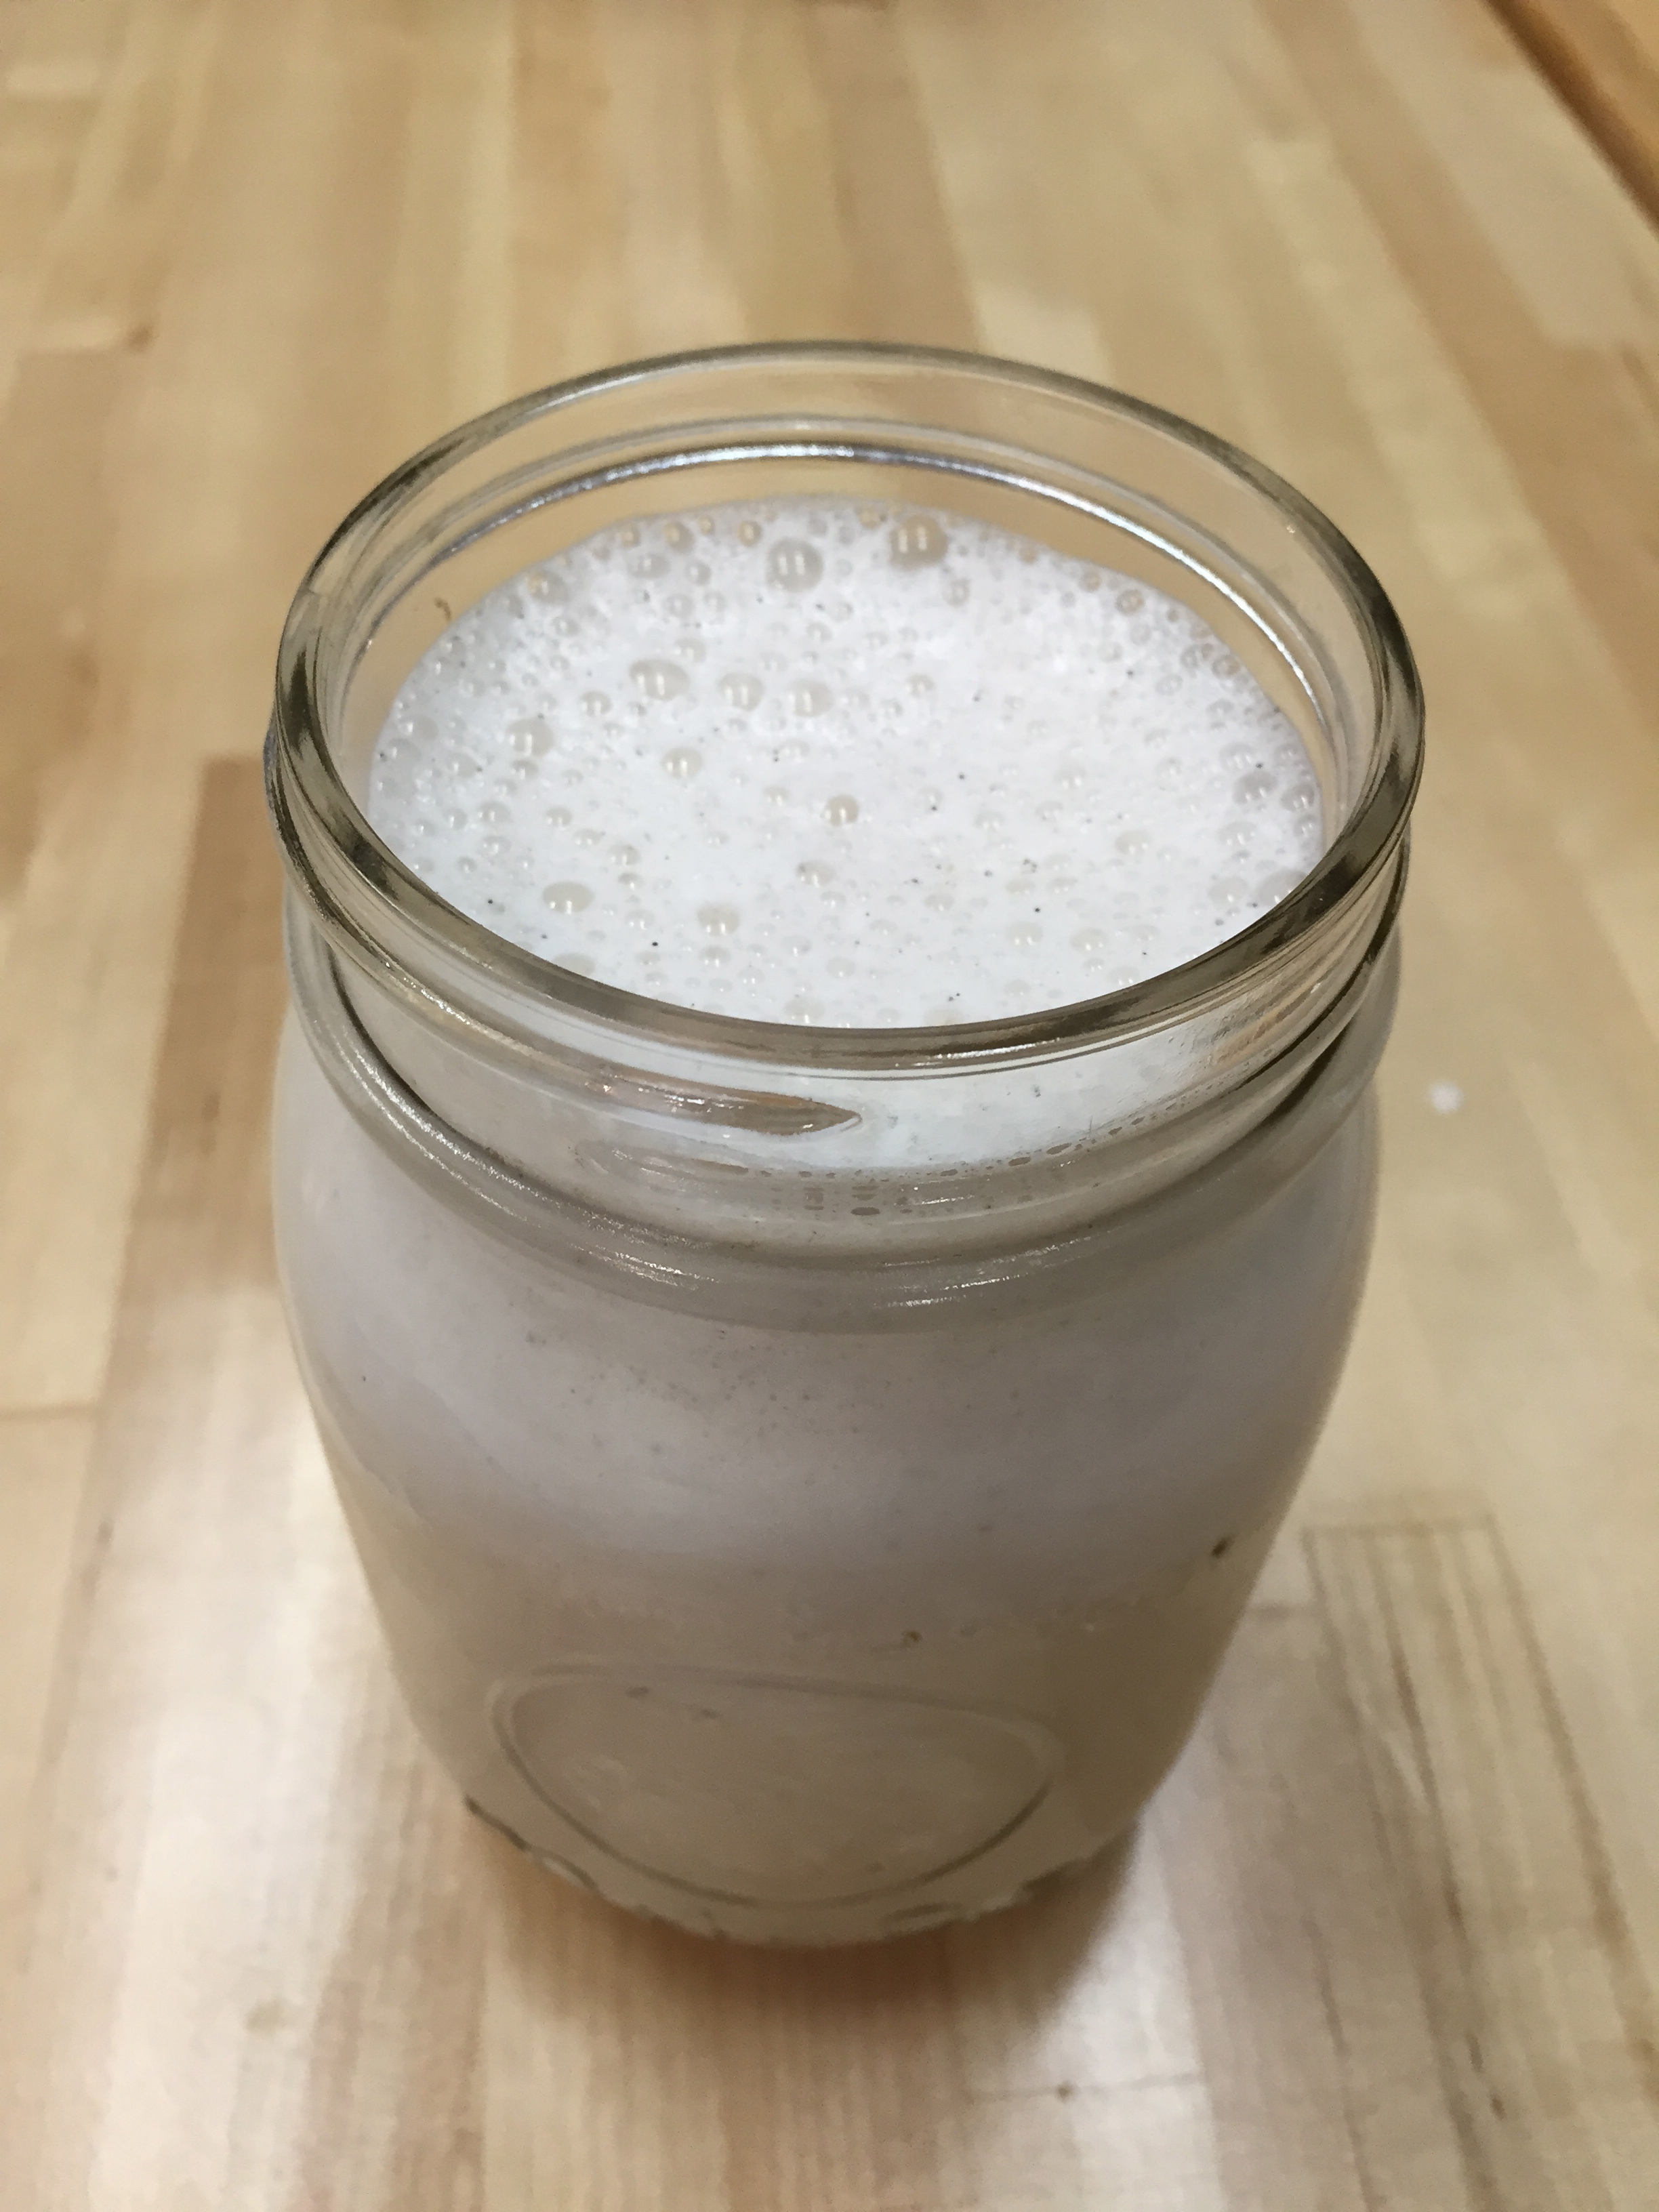
We now have delicious, basic plain almond mylk.
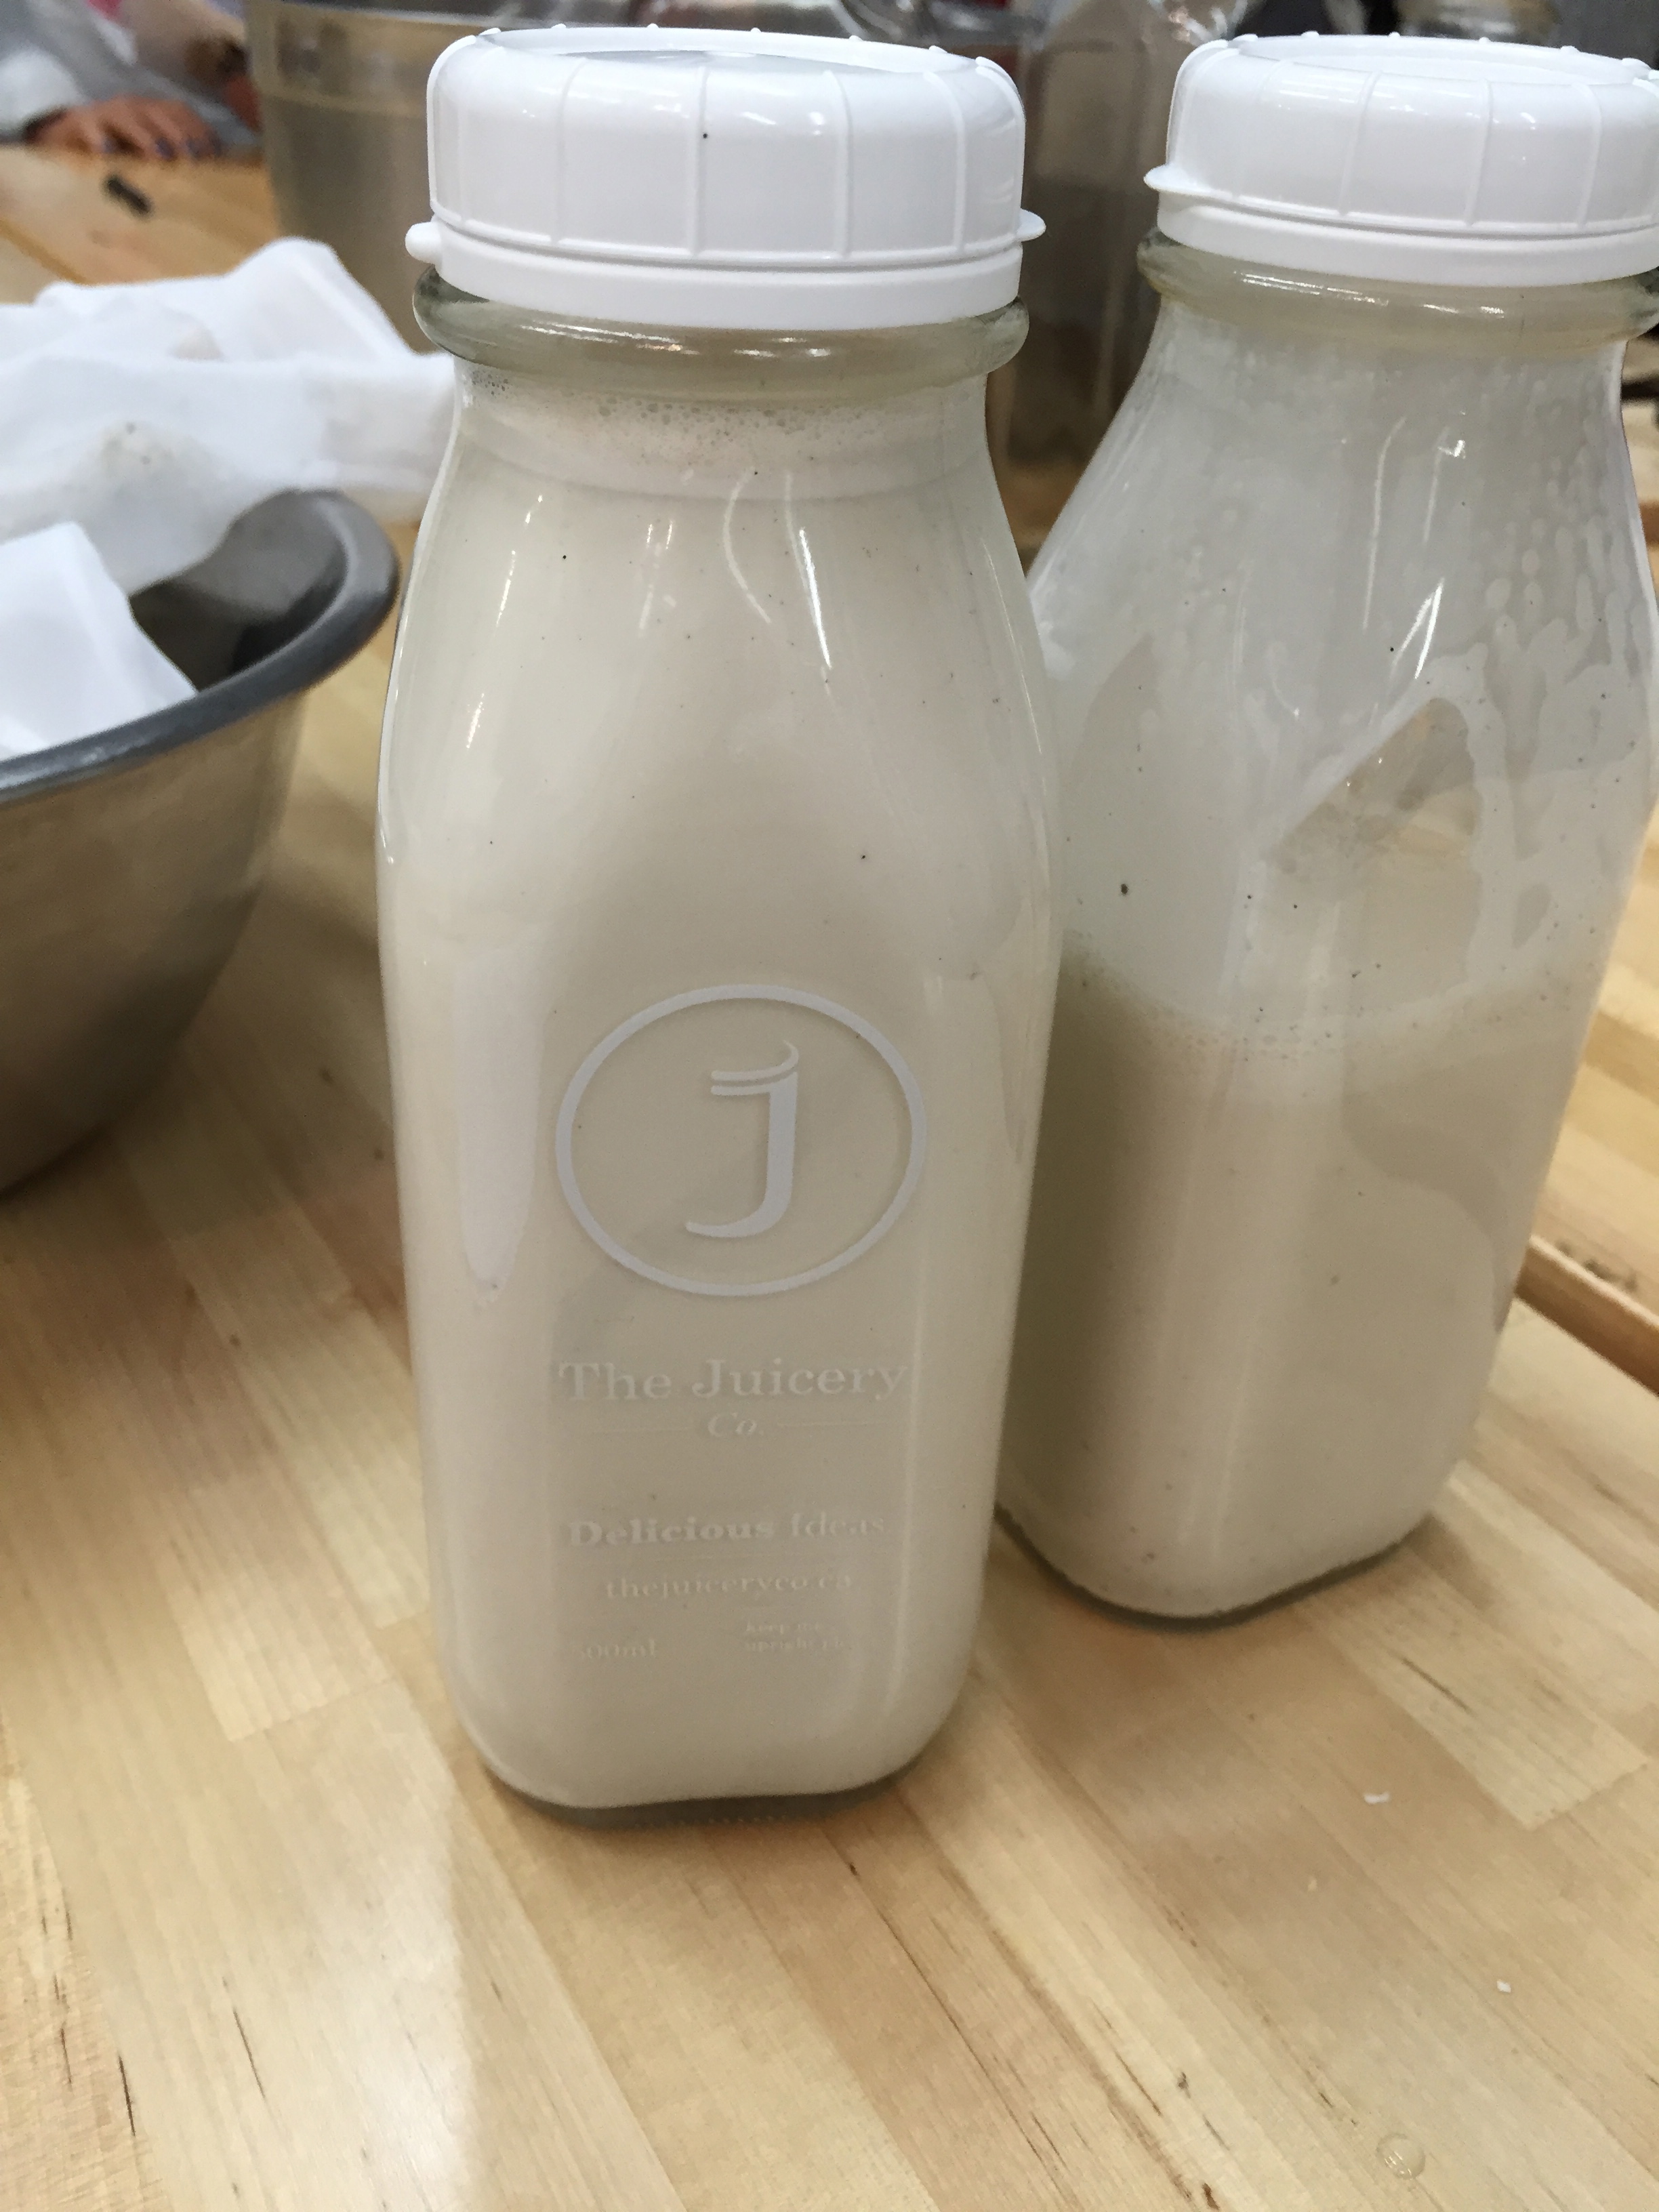
Now since we have the base all figured out, we decided to jazz it up a bit with a few extra flavours. We poured our almond mylk back in to the blender and then added honey, cinnamon and vanilla bean. We blended on low for 30 seconds, or just use the pulse button. The reason you want to pulse is because almond mylk foams like craaaaazaaaay. Be patient my friends.
Look at this beauty!!

Filling up our bottles
Making nut mylk is soooo easy and so fun. I will totally be doing this at home!!! There are so many varieties and types of nut/seed mylks you can make so play around. My favourite in the class was the brazil nut mylk. So creamy!! It literally takes only a few minutes and it’s nice to know that there are no additives or crazy chemicals. The almond mylk should last in your fridge for about 4 days. If you are adding other fresh ingredients like pear or fruit…it will probably only last 3 days max. Remember if it don’t smell well…don’t drink it!!
What a great little care package!
If you aren’t feeling adventurous or don’t care to make your own, seriously head down to the Juicery Co because these fine people make some amazing Mylks!! They also do some lovely seasonal flavours…like persimmon!! It’s fun and good karma to support local businesses that work hard and are truly passionate about what they do. Seriously, check them out!!
I really had a blast making nut mylk and can’t wait to make this at home.
I am currently in the process of creating an almond mylk coffee creamer!! Stay tuned!!
Have Fun Moody Friends!!

Mmmmm, melk 😃
LikeLike
Cracking up kafoom.
LikeLike
Awesome!!! Wish I lived closer. Just made Cashew Eggnog, a recipe from the Oh She Glow’s ebook companion to her cookbook. (I think I sent that to you?) Anyways, it rocked and you didn’t even need to strain it! I’m feeling a new batch of almond mylk coming on tomorrow now!
LikeLike